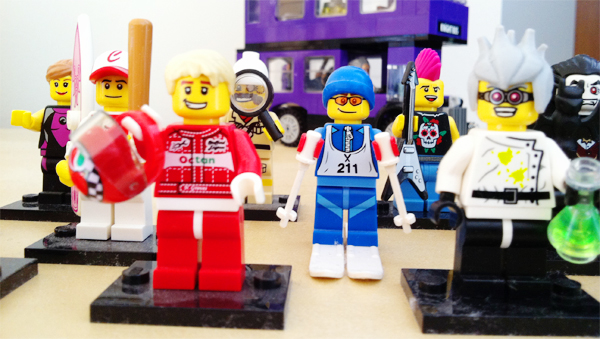
It is no secret that we are somewhat obsessed with Lego in our house. I could say it’s because I have 2 boys but I think the truth of the matter is that I am the biggest fan of all. I didn’t have Lego as a kid so I’m making up for it now. Over the last couple of years we have been buying the Lego Mini figure surprise packs. Do you know them? There are always 16 in a Series and you never know what you’re going to get so a bit of fun turns into a full on collection. For Series 1 we weren’t very serious about them and then somewhere around Series 3 we made it our quest to try and get all in the Series. We’ve managed to complete 3, 4, 5 and 6 and the cyclist has discovered an eBay store that sells some from Series 1 and 2 for varying prices and is making it his mission to get them all.
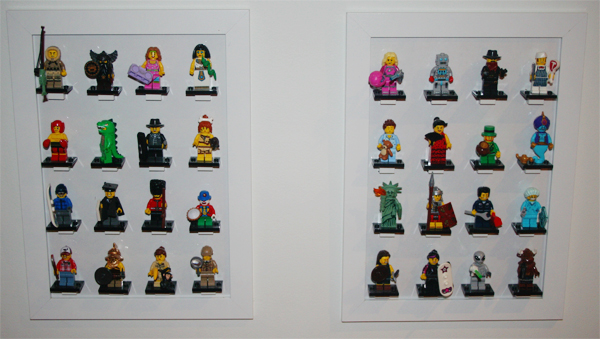
So with all these mini figures I decided they needed to be displayed in some way that would give me back the top of my bookshelf and so they could still be played with. Lego sell display boxes but I don’t really like them so here’s my solution to my mini figure problem that was inspired by a pin I found on Pinterest. Here’s how it’s done if you want to build your own.
Step 1 – Gather you supplies

For this project I bought
- Nyttja frames from Ikea that are a perfect A4 size.
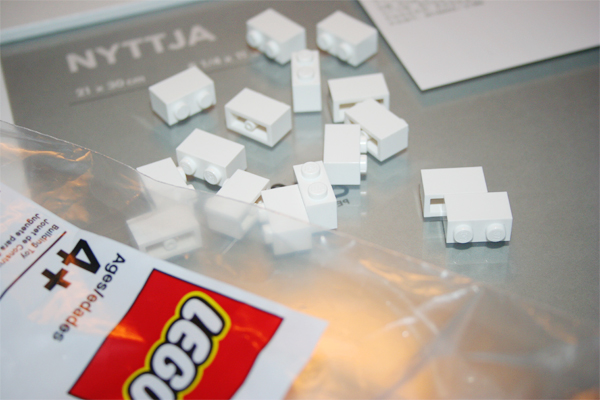
- 128 white 1 x 2 bricks from lego.com – to make 8 shelves.
- Craft glue that dries clear.
Step 2 – Draw up your shelf grid
- Mark out on the frame’s perspex a dot at each of the following points horizontally – 15mm, 65mm, 115mm and 165mm. I used a white board pen as it was easy to erase from the perspex.
- Then mark out vertically (in line with your original marks) a dot at 65mm, 140mm, 210mm and 280mm – you’ll need to do this four times for each of your horizontal marks.
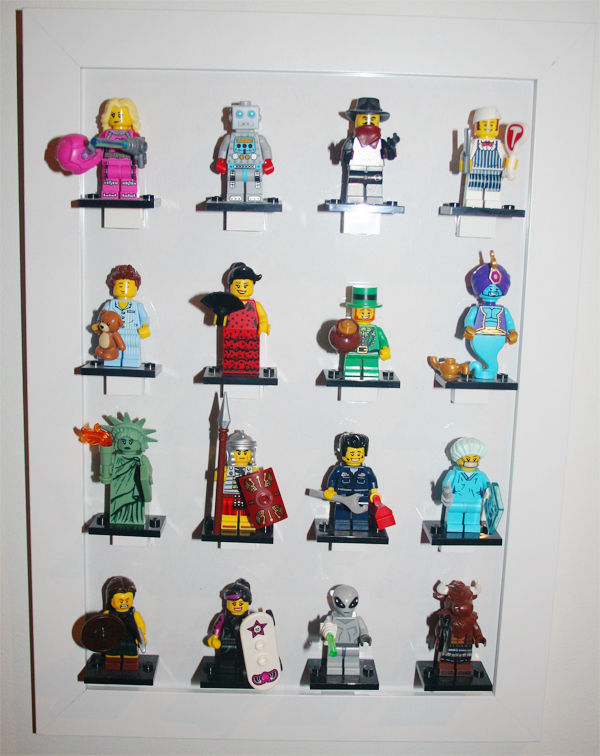
- You’ll end up with 16 marks on your perspex. With the dots of your brick facing to the top of the frame glue the long side of a brick to the perspex matching the mark on the perspex with the bottom left corner of the brick.
- Let it dry flat overnight.
Step 3 – Put on your mini figures
Your mini figures come with their own baseplate so they should sit quite well on the white brick. Some of the minifigs have been a challenge e.g. the crocodile suit guy that had to stand sideways and the skaters that had to hold their skates but for the most part it works well and they look great in our family room.

So if you are a Lego nerd like me I hope this helps. If you have any questions, ask away!

Comments
2 responses to “DIY :: minifigure shelf”
Okay, that’s AWESOME!!
I’ve always loved Legos myself. I keep hoping my niece or nephew will start getting into them…. for purely non-selfish reasons, of course!
They look awesome! Good job.
Since I am anti-collecting in my house, I’ll keep the Legos just the way we have them now — on the Wii games.